February 19, 2025
Bicycle repair requires a lot of special tools
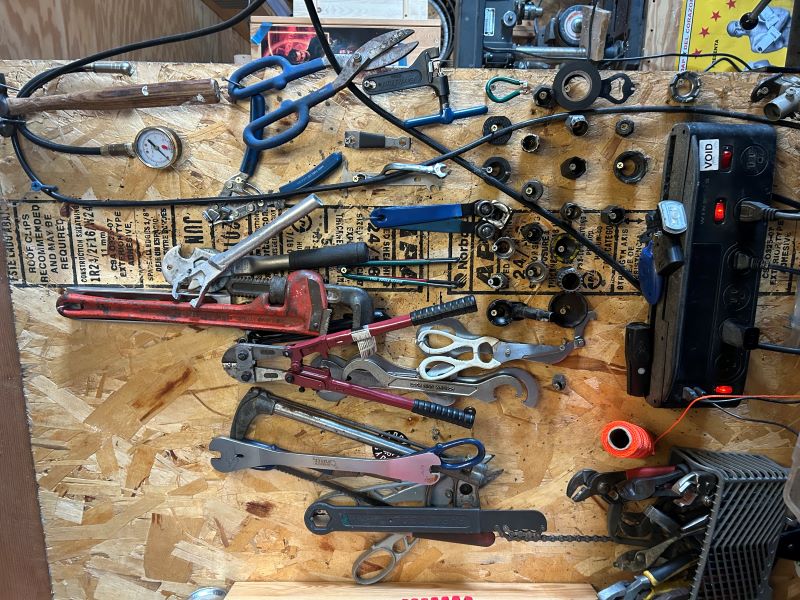
The first thing I learned about restoring vintage bikes is that I don't have the right tool. Need to fix a Helicomatic hub? You need a special tool! Remove a Suntour freewheel? You need a special tool! An Atom freewheel? A different special tool! Shimano? That's a different tool, too!
Many of these tools are no longer manufactured and some sell online for more than reasonable dollars. Others are impossible to find at all. And even though Park Tools and others still make a wide variety of excellent specialized tools, many are too expensive for a home mechanic who may only need to use them once or twice.
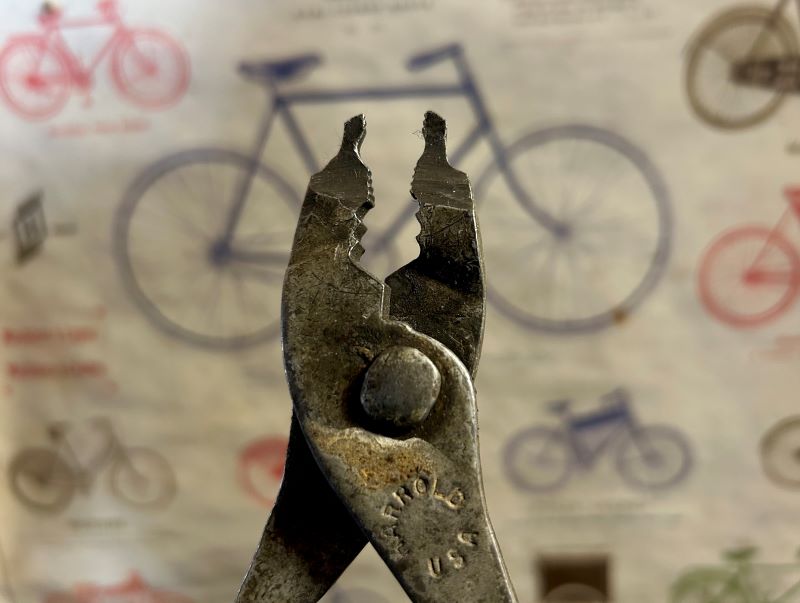
The good news is, many tools can be made cheaply and easily at home. The first tool I made is for removing the quick link from a chain, which needs to be squeezed together in order to release. I simply ground down the jaws of an ancient pair of pliers so that they fit inside the quick link to squeeze it open.
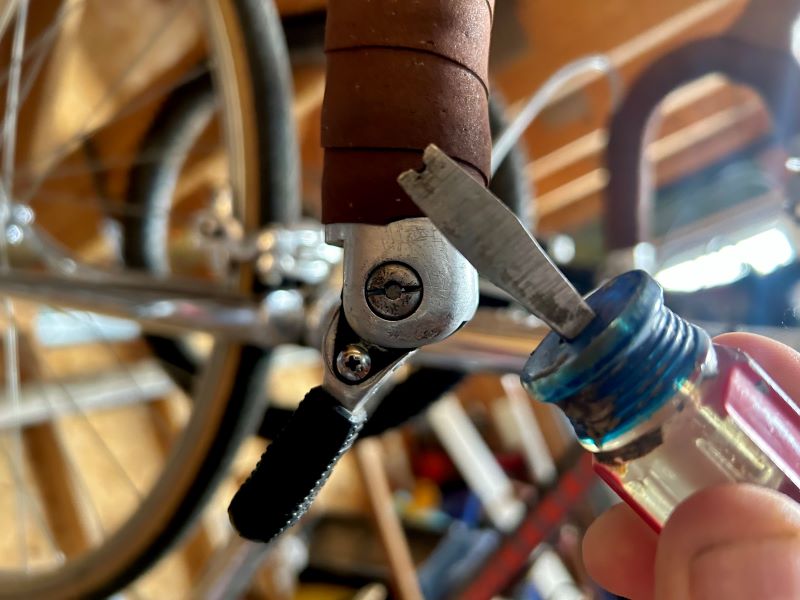
A little bit of grinding was all it took to modify a stubby screwdriver so that it can turn the lock nut on a Suntour barcon. The notch in the middle is for the bolt sticking through the center of the nut.
Another simple tool is this headset cup removal tool, which slides into the headtube and easily pounds out headset cups with a quick whack from a rubber mallet. I didn't make this tool but picked it up somewhere along the way. It's just an aluminum pipe with four long cuts in the end and flared out slightly. This could also be made from a thin guage steel pipe or perhaps a 3/4" copper pipe.
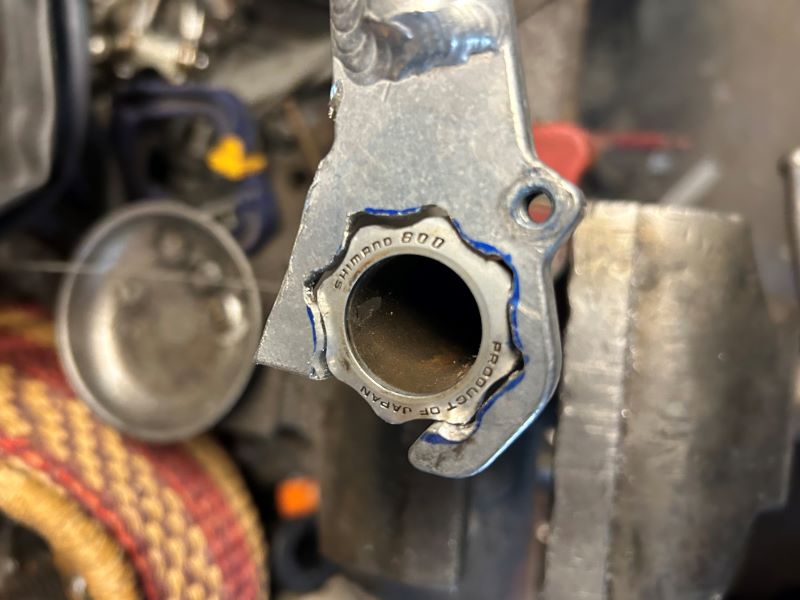
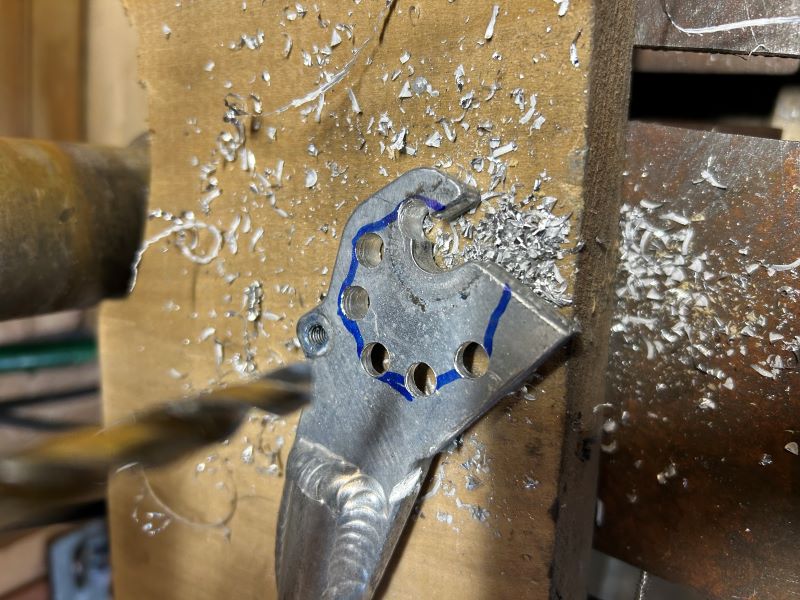
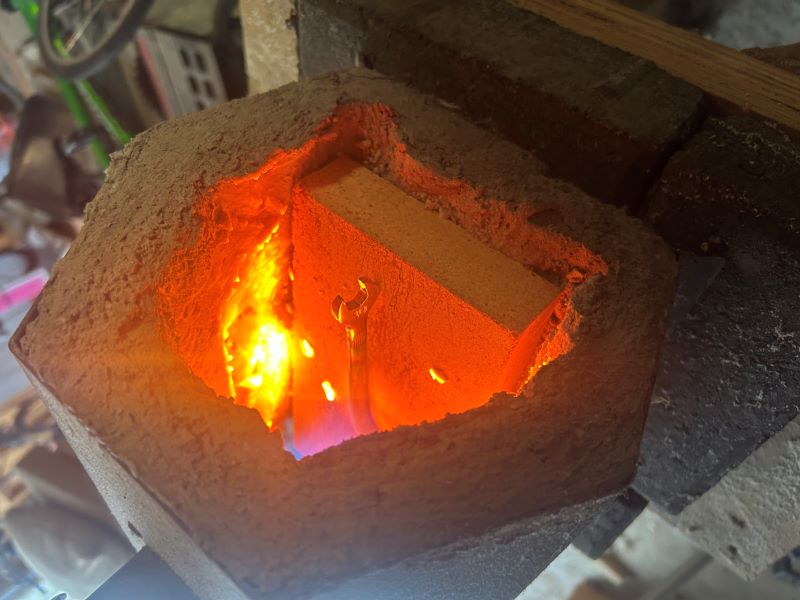
Headsets are indeed pretty finicky, but sometimes component manufacturers make them so much worse. A prime example is the Shimano 600 headset from the early 80s, which looks cool but requires a special wrench to loosen or tighten. Shimano must have thought, "Why sell just a headset when we can sell the wrench, too?" Rather than spend $120 on ebay, I decided to build the wrench myself.
My quick link pliers
A modified stubby screwdriver for tightening Suntour barcon nuts

A homemade headset cup removal tool
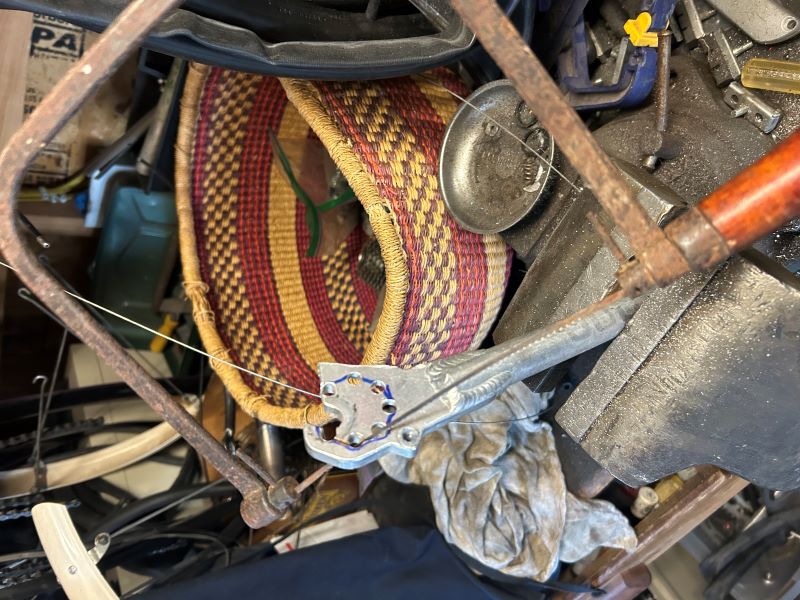
A homemade wrench for a vintage Shimano 600 headset
 |
 |
Drilling and cutting out the wrench shape
I cut the seatstay and dropouts from an old cracked aluminum mountain bike and cut out the shape of the headset nut. It took maybe a half hour of work and it's not pretty. But it works great.
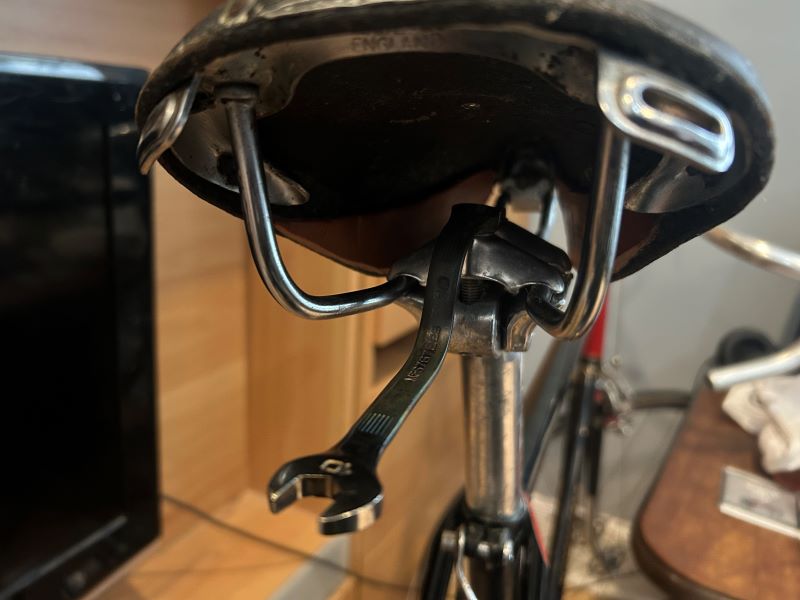
A homemade Campagnolo or SR seatpost wrench
In the 70s, seatpost clamp designs were evolving rapidly. One of the early innovations was by Campagnolo, later copied by Sakae Ringyo, which utilized two bolts to quickly and easily adjust the pitch of the saddle.
Unfortunately, these bolts were located on top of the seatpost, directly under the saddle. The only way to tighten them is with a special wrench which was once made by both Park Tools and Campagnolo. Neither are still in production.
 |
 |
 |
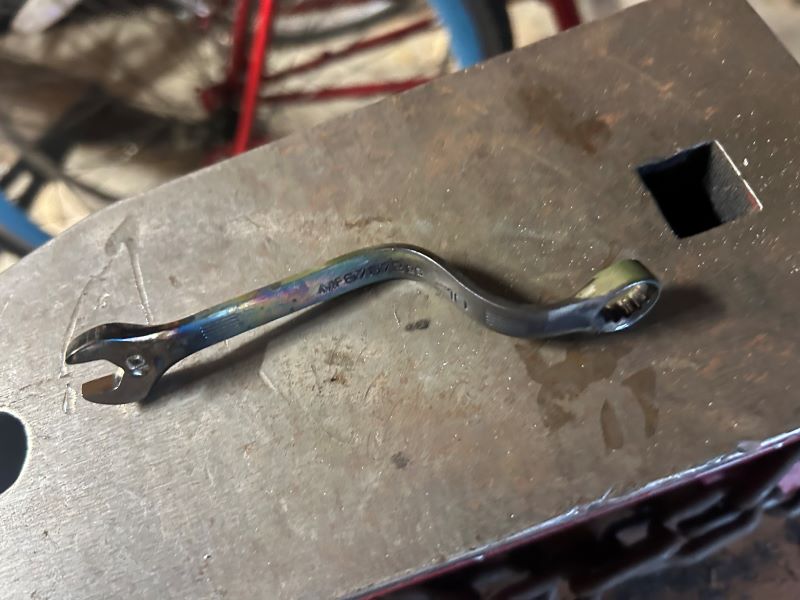 |
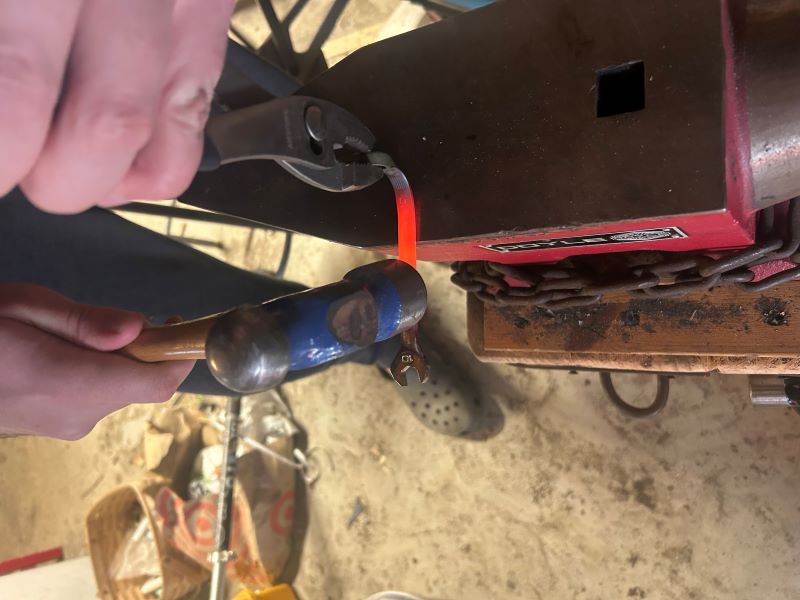
Riley forging an offset into a 10mm wrench
Luckily, my son Riley is a blacksmith! He took a cheap 10mm wrench from Menards, heated it up, and quickly pounded an offset into it. For him, it was a ten minute job. And now, I have the perfect tool for any two bolt seatposts I may encounter.
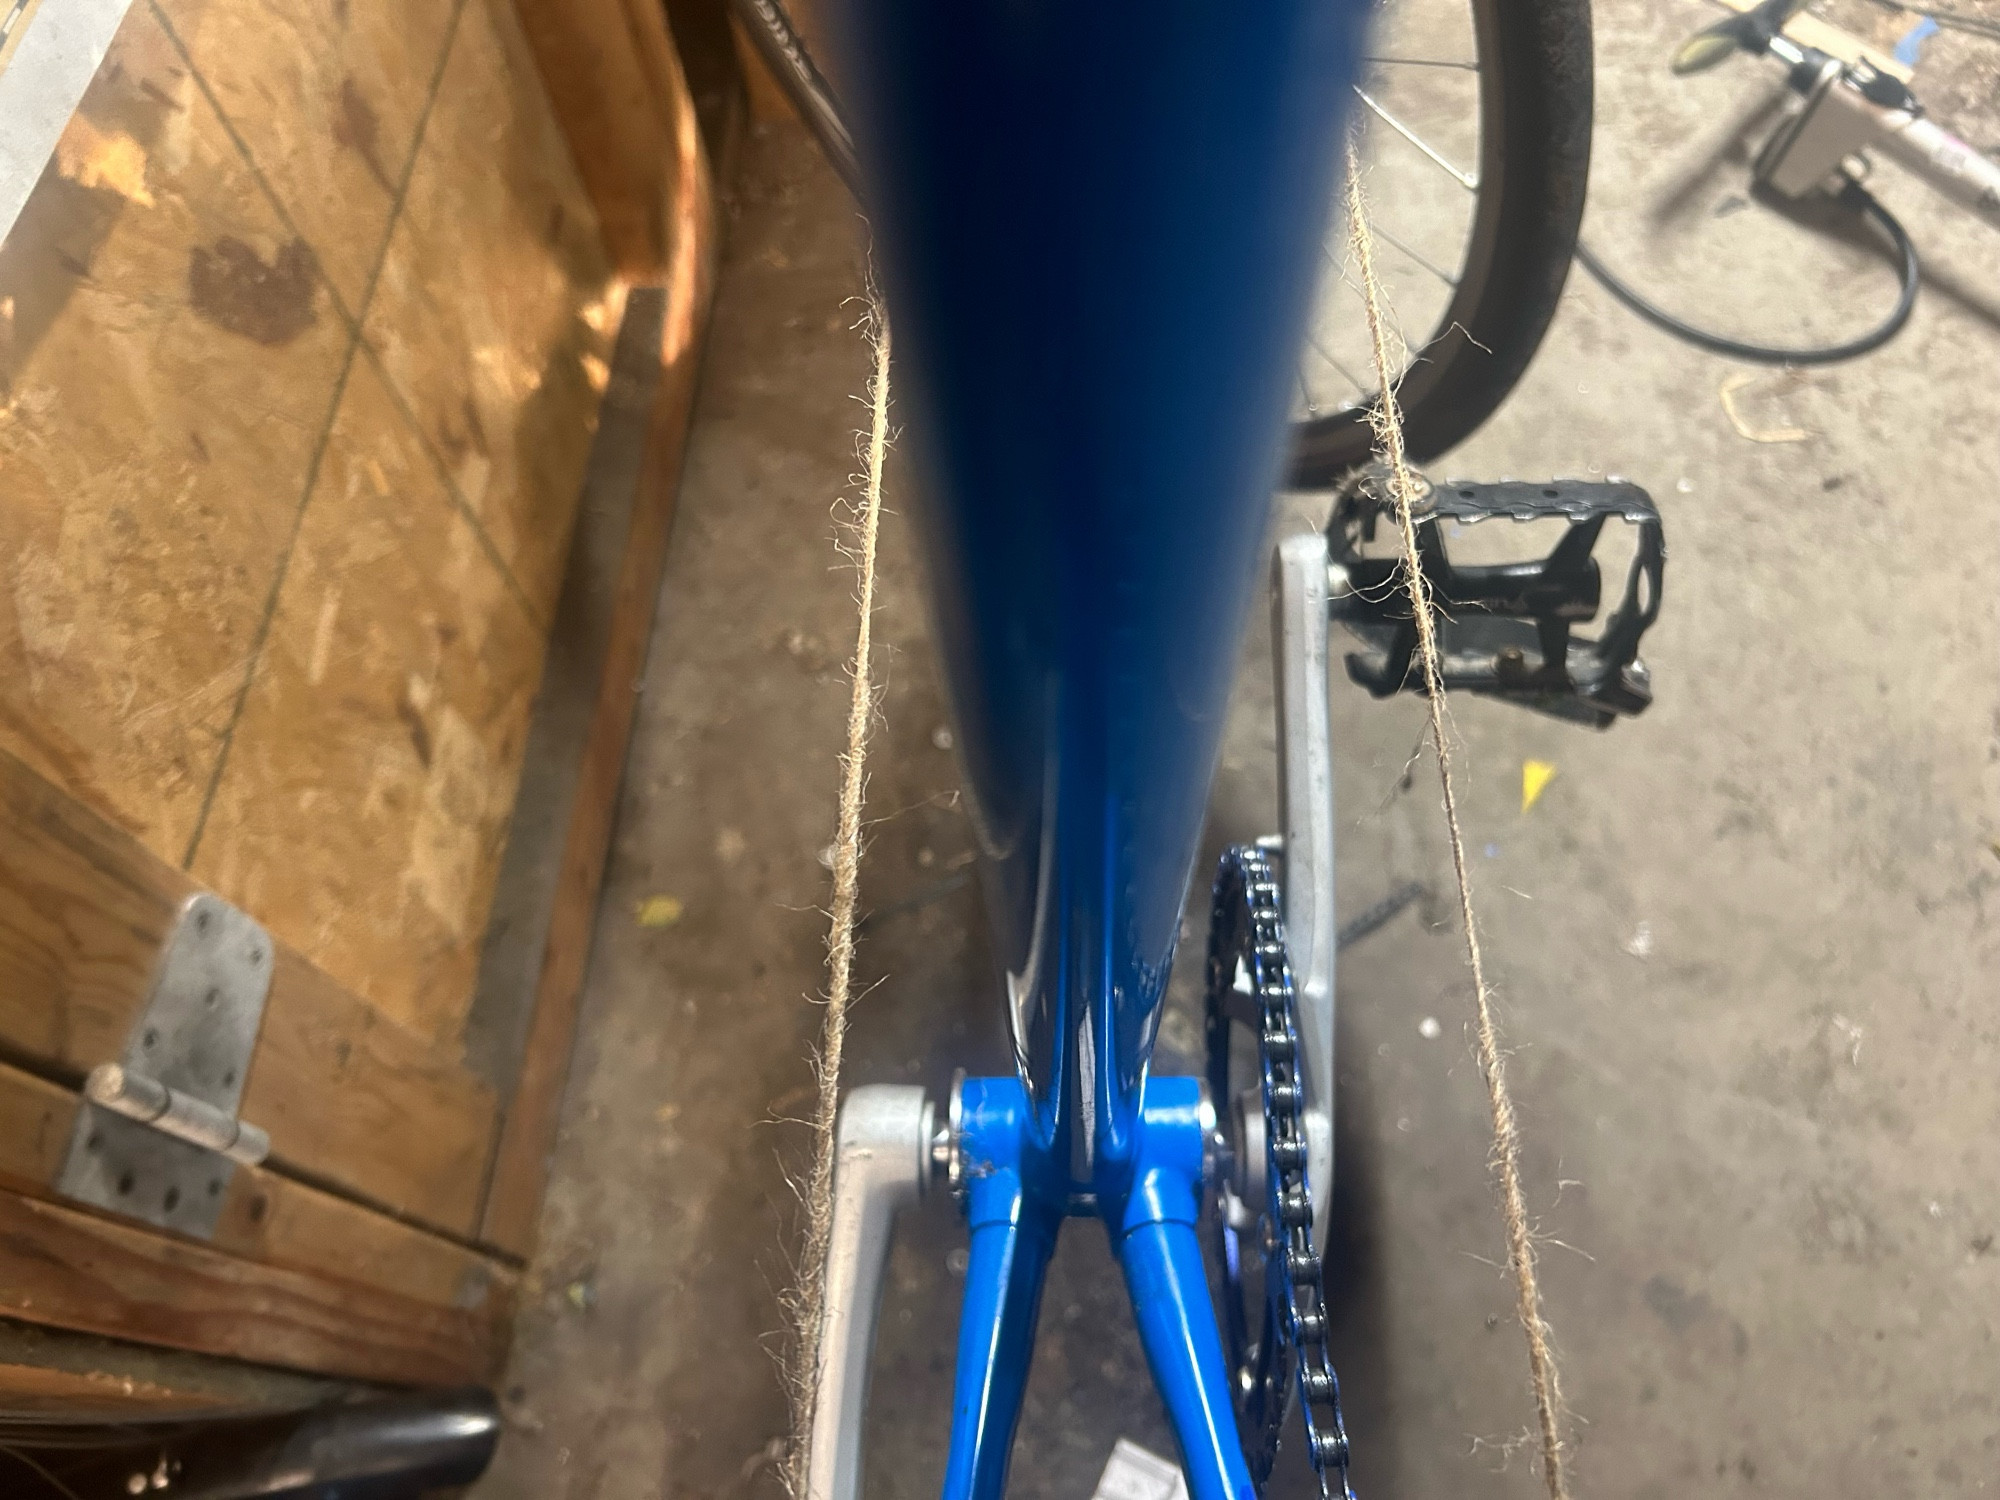
Steel bikes frames often require a bit of metal bending. Luckily, none of it requires a forge. The most common example is aligning the rear dropouts, which need to be parallel or the bike won't track correctly. If you have a bike that isn't easy to ride no-handed, this is the first thing you should check.
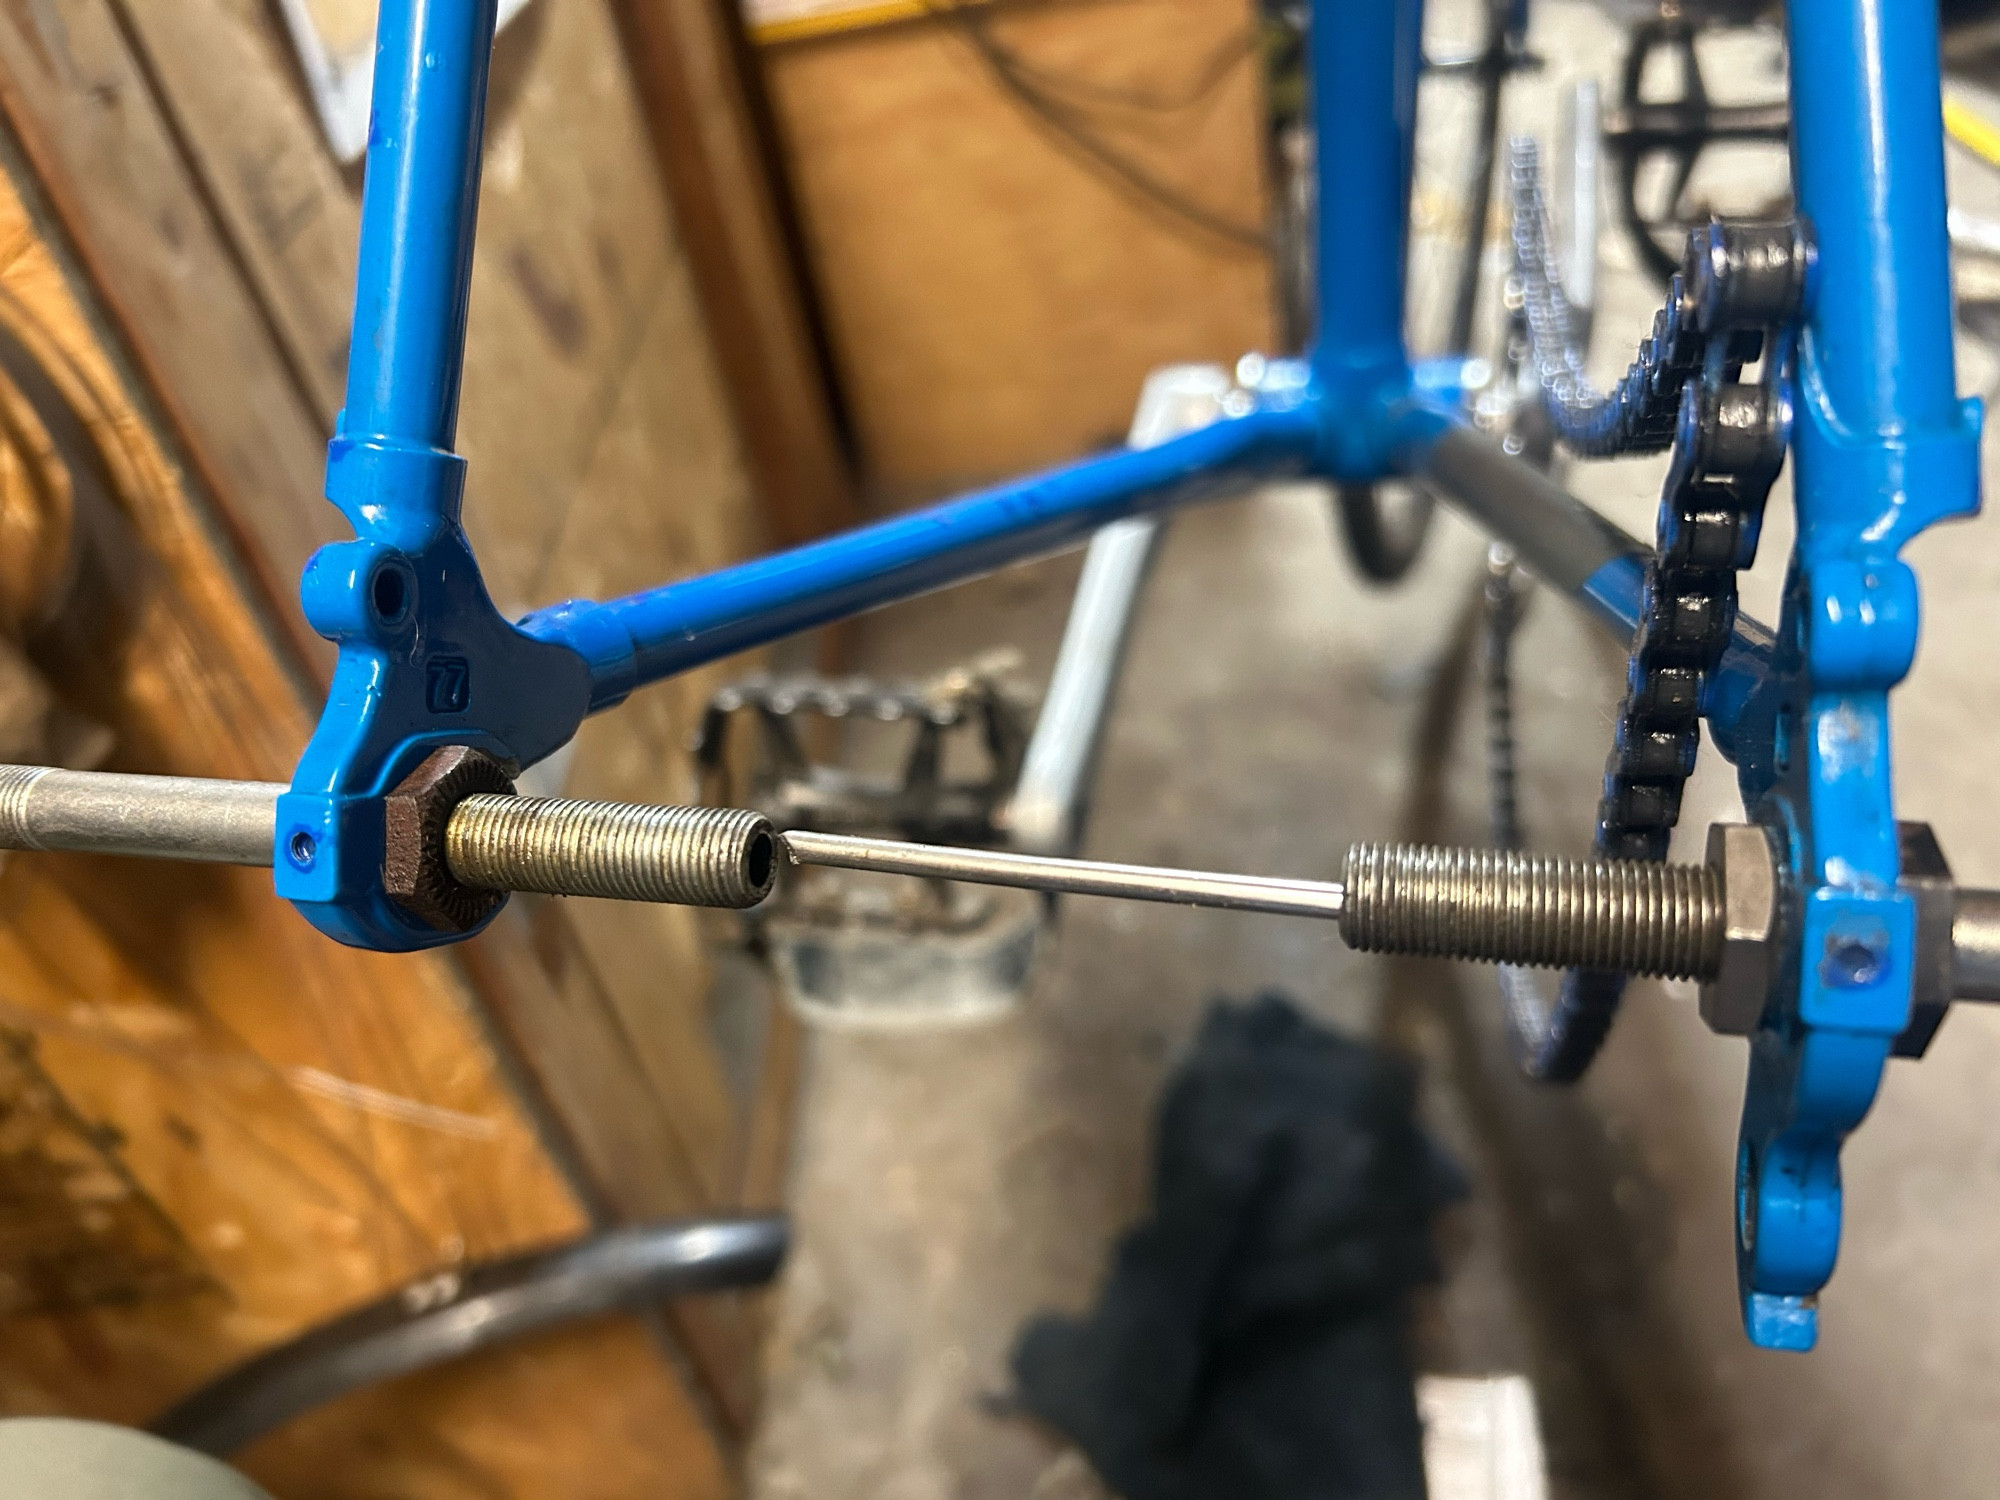
A homemade dropout alignment tool
Park Tool makes an excellent dropout alignment tool, but it costs $100. I made my own using two quick release axles, which I bolt to the back of each dropout. I can then apply a wrench to the axles to bend the dropouts until they're parallel. I use a fender strut to test alignment, but I know it's perfect when I look through the hole of an axle and it lines up cleanly with the other.
 |
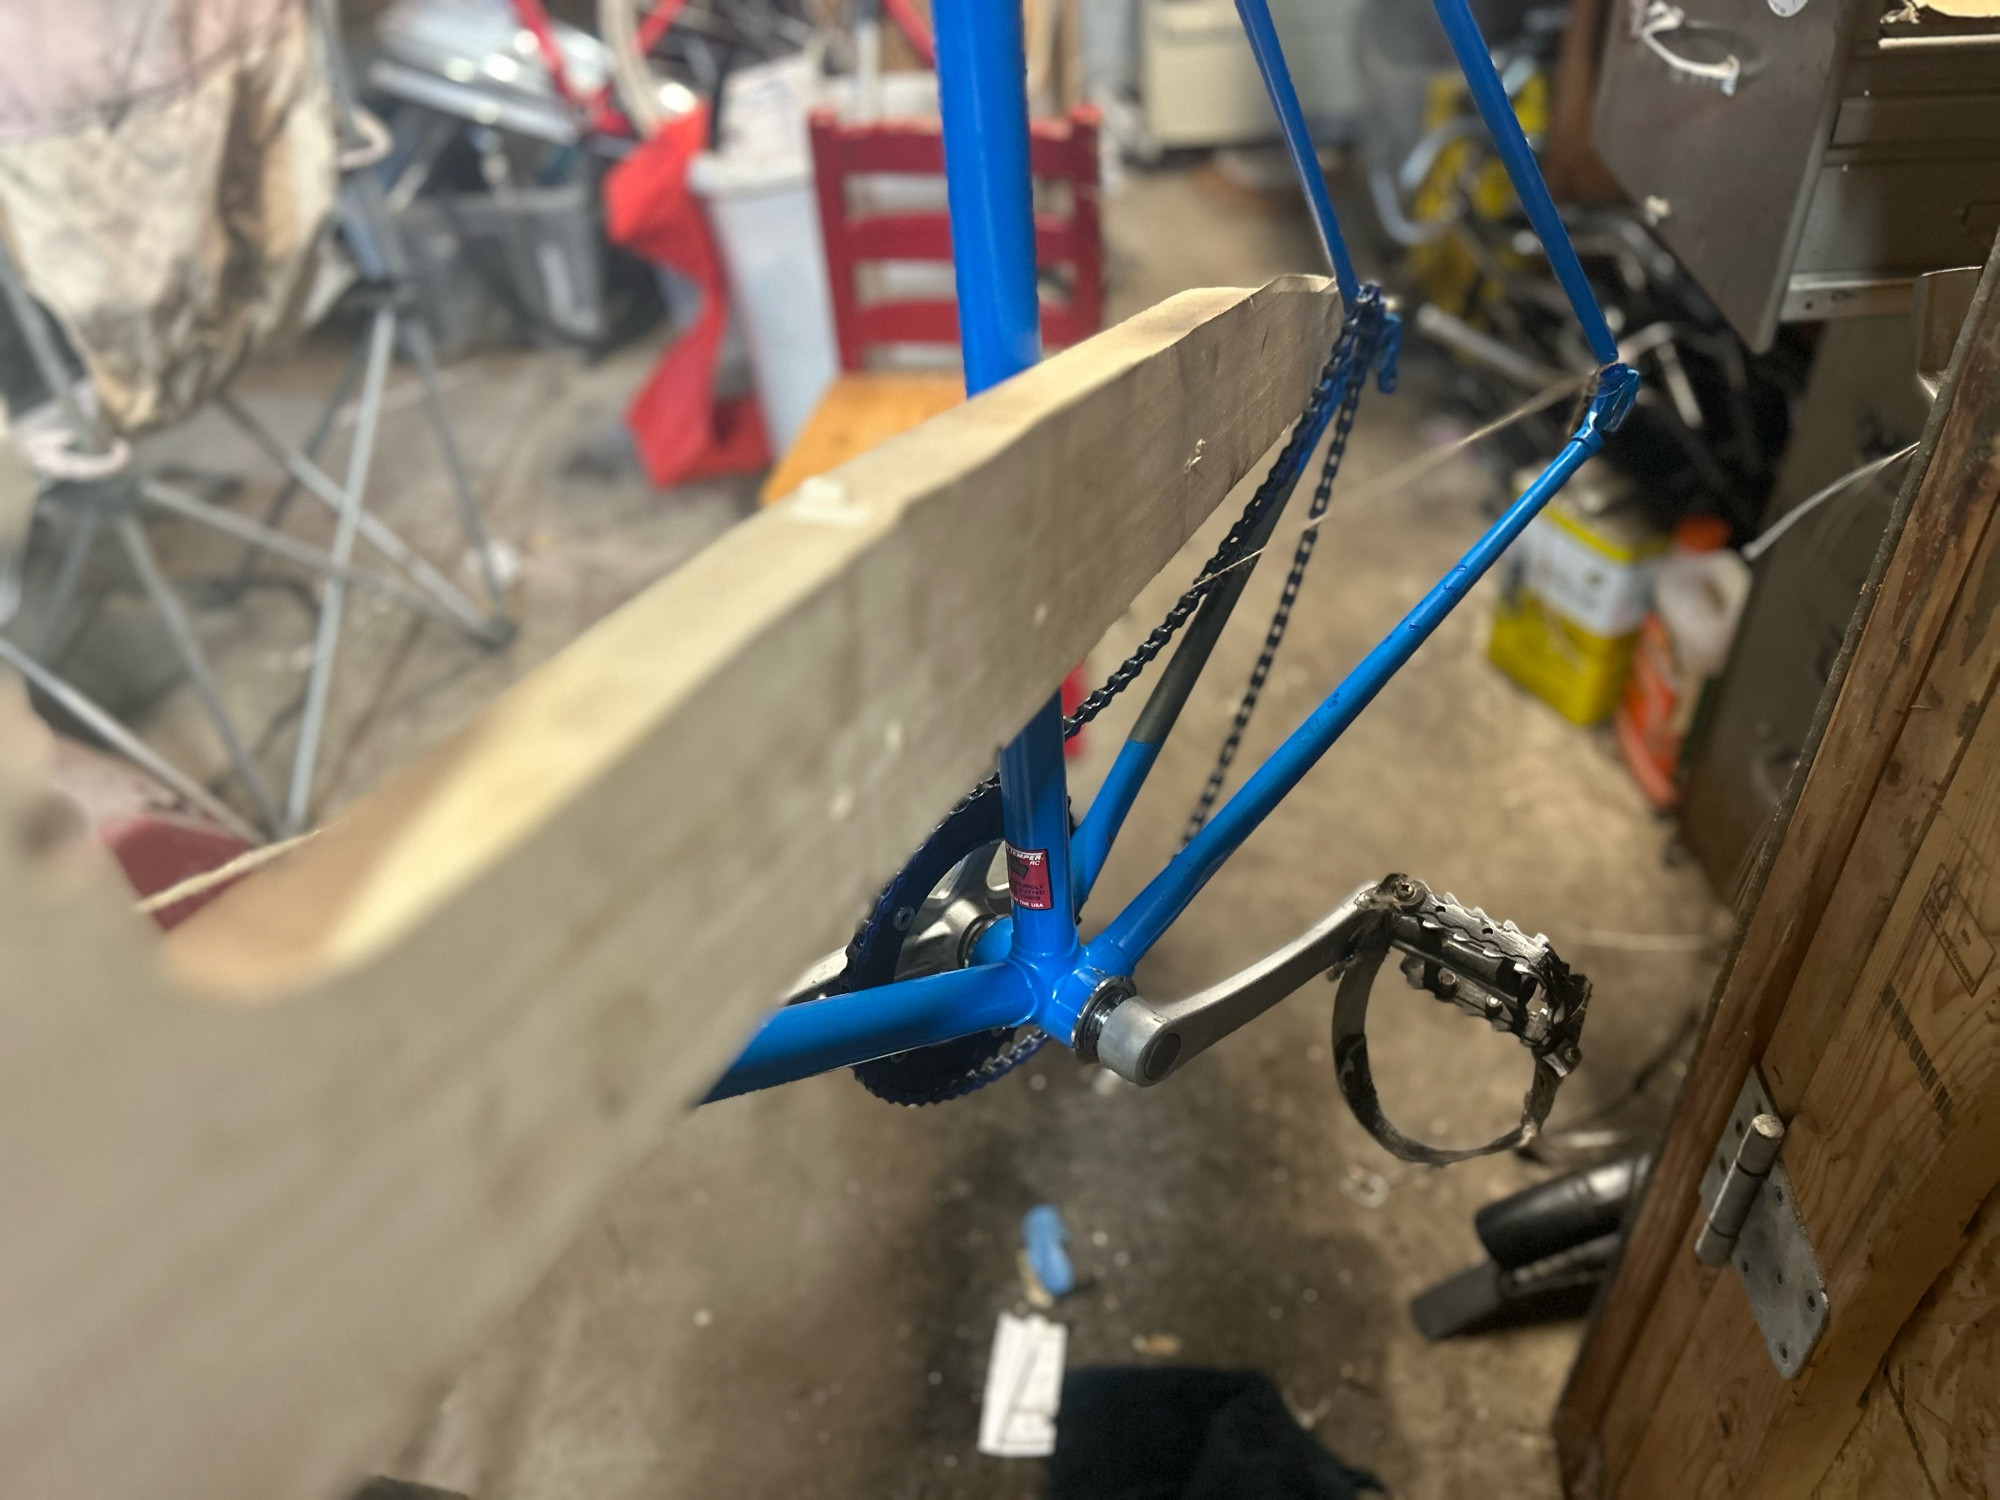 |
Testing frame alignment and bending the frame
Sometimes, the whole rear triangle of a frame is bent. Park also makes a frame alignment guage, but you can just as easily check alignment with a piece of string. Tie the string on one dropout, wrap it around the bottom of the head tube, then tie it back onto the other dropout. Then, use a ruler to measure the distance from each side of the seat tube to the strung--they should be equal! If not, get a stout piece of lumber and bend each rear triangle until they're aligned. With steel, you always have to bend it beyond where you want it because it'll flex back. Take it slow and take repeated measurements.
Once the frame is aligned, you'll have to realign the dropouts as well and make sure they're correctly spaced. All this requires patience.
Every bike should also get its derailleur hanger alignment checked. For this, you should go ahead and buy Park's hanger alignment tool. It's indispensable.
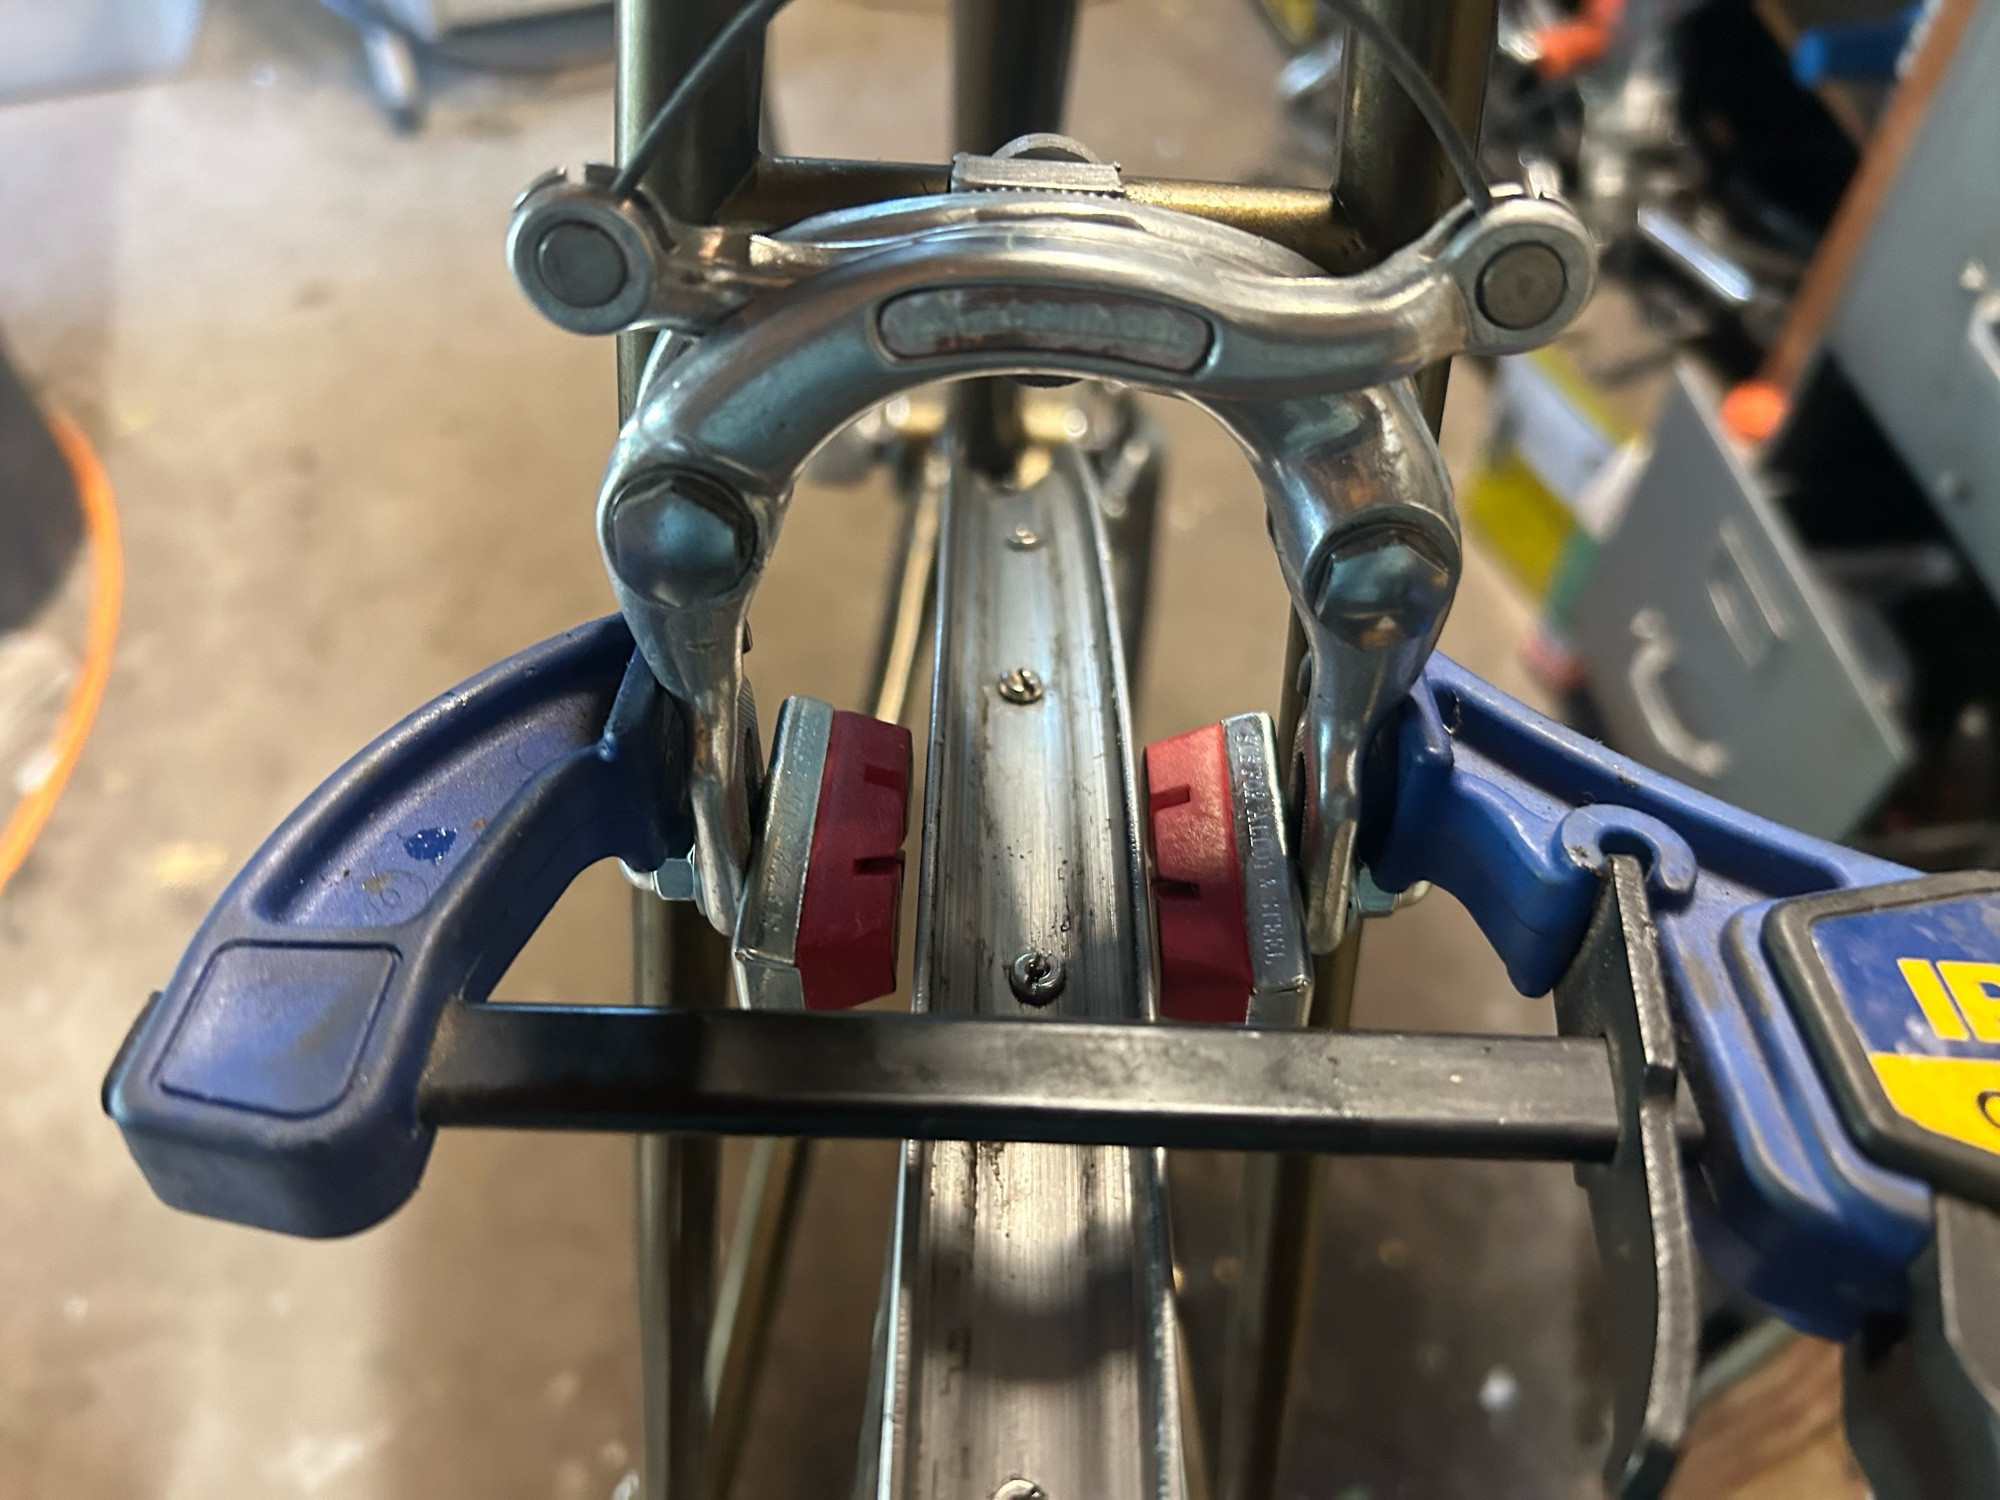
Your bike frame and brakes work perfectly as a truing stand
Finally, there's one tool you probably already have: a truing stand. Yes, if you build or repair a lot of wheels, you'll want to own an actual truing stand. But for straightening a wobbly wheel now and again, all you really need is a spoke wrench and your bike frame. Turn the bike upside down or mount it in a workstand, then install the wheel and use your brake pads as guides to true the wheel. I use a quick clamp to keep the pads close to the rim. Tighten spokes until they're all tight and the wheel spins true. If it's an old rim, be sure to spray a bit of penetrating oil into each nipple before you begin.
I understand that most of these homemade tools are kind of amateur hacks that no professional would ever use. But bicycle repair should be accessible to amateurs! Yes, you'll still need to buy plenty of specialty tools like cone wrenches, a chain whip, and various lockring tools. But when you can, consider making your own tools as well. Repairing something useful with a homemade tool offers an extra sense of accomplishment. Please let me know if you have other DIY tool ideas.